Objective:
To determine and measure how the different types of alcohols and molecules arrangements (size and number of Carbon atoms) affect their vapour pressure.
Background information:
The vapor pressure of a liquid is the equilibrium pressure of a vapor above its liquid; that is, the pressure of the vapor resulting from evaporation of a liquid above a sample of the liquid in a closed container. (This can be also applied in solids). Examples:
Substance
|
Vapor pressure at 25oC
|
diethyl
ether
|
0.7 atm
|
bromine
|
0.3 atm
|
ethyl
alcohol
|
0.08 atm
|
water
|
0.03 atm
|

As the temperature of a liquid or solid increases its vapor pressure also increases. Conversely, vapor pressure decreases as the temperature decreases.
(MERCIS, Elissa (2010))
During this lab session, we are going to work with Propanol:
"Propanol is a colourless, mobile, neutral liquid of average volatility and has a characteristic alcoholic smell. It is freely miscible with water." Furthermore, its molecular weight is 60.095.
Propanol has many applications
n-Propanol is used as a solvent and an intermediate. It shows less tendency to absorb water than lower alcohols, and has a considerably milder and more pleasant odour than higher alcohols.
In the coatings industry, n-Propanol is a useful medium-volatility alcohol for improving the drying characteristics, e.g. of alkyd resins, electrodeposition paints and baking finishes.
It is added to cleaners, floor polishes and metal degreasing fluids and is used as an additional solvents in the manufacture of adhesives.
n-Propanol is also present in de-icing fluids and is used as extractant and entrainer in azeotropic distillation.
n-Propanol is a feedstock in the manufacture of insecticides, herbicides and pharmaceuticals. It reacts with acetic acid to form propyl acetate, with ammonia to form propylamines and with halogens to form the corresponding propyl halides
(BASF, The Chemical Company. (5-3-2008))


Materials:


Propanol Schlenk tube


Vacuum line


2 rubber bands Cover


1 laptop Logger Pro
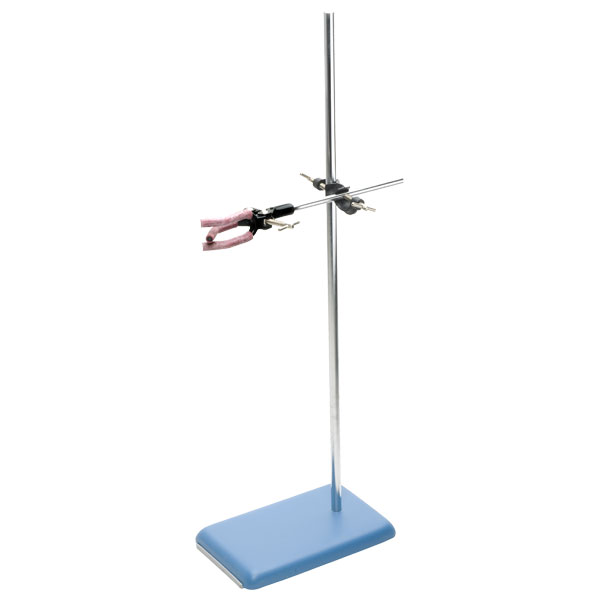
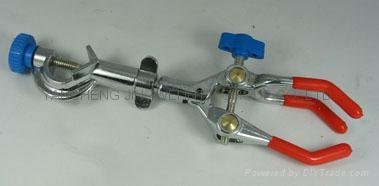
Stand Clamp

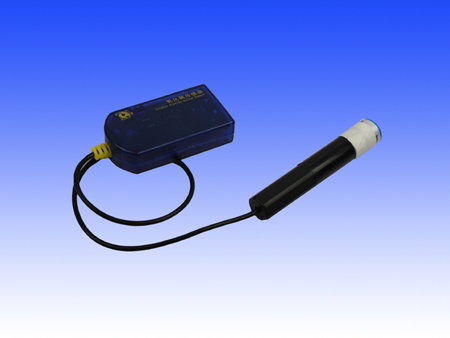
Vaseline Gas pressure Sensor
Rubber Tube
If you want to carry out this experiment, you must install "Logger Pro" in you computers, using this website:
Method:
1.-Take the Schlenk tube and attach it to the stand using a clamp.

2.-Fill the Schlenk tube with 20 mL propanol (or any other alcohol you can find below).
3.-Spread vaseline in the upper part of the Schlenk tube. This will prevent our materials sticking together while creating the vacuum.

4.-Place the cover of the Schlenk tube on top of it (where you have already spread the vaseline). Use two rubber bands in order to ensure it does not move nor fall.
5.-Connect the rubber tube to the Schlenk tube so you can connect the gas pressure sensor to your laptop.

6.- Go to the vacuum line and create a vacuum (the tap should look upwards). Some propanol will start boiling, don't worry.

7.-Collect the data and wait until the pressure collected reaches an equilibrium.
Results and calculations:
Once we finished our experiment, we waited until the pressure remained constant, and we obtained that the pressure of propanol was 9,8 kPa. We then shared the data with our classmates, and we created a table:
Table 1: Table showing the pressure in kPa of the different alcohols we have been working with
Alcohol
|
Pressure (kPa)
|
Propanol
|
9,8
|
Methanol
|
16,9
|
Hexanol
|
4,27
|
Butanol
|
5,25
|
Pentanol
|
4,10
|
Ethanol
|
11,7
|
Octanol
|
2,04
|
Heptanol
|
2,02
|
As we can see, there is an inverse proportion between the pressure and the number of carbons. For instance, the higher the number of carbons, the lower the pressure measured.
Graph 1: Graph showing how the vapour pressure changes with the number of carbons the alcohol has.

In the graph above we can observe how the vapout pressure decreases at the same time the number of carbons increase. In other words, the pressure is inversely proportional to the number of carbons the alcohol contains. We can determine that is a logaritmic function because is the equation that is better adjusted to the points obtained. The co-relation coefficient is 0,9764, this means that the results are not perfect. However is a number very near to 1 (which would mean that the results are perfect) so we can say that it has been an almos perfect experiment.
Graph 2: Graph showing the inverse of the data we have obtained in this experiment (number of carbons against pressure)

Comments about the graph:
In the inverse of the first graph (second graph) we have included the best fitting line (slope), which is a straight line (constant slope).
We
can see that the co-relation coefficient (R2), which indicates us how
well the line fits the points, is not as good as possible (0,8801). If this coefficient
approaches to 1, this means that the experiment has been very well done, with very
little mistakes.
Conclusions:
(In 00:29 and so on, it means a lower boiling point, not a higher one)
Bibliography:
BASF, The Chemical Company. (5-3-2008) n-Propanol. Taken from: http://www.solvents.basf.com/portal/load/fid228771/n_Propanol_e_03_08.pdf
MERCIS, Elissa (2010). Vapour Pressure. Taken from: http://www.chem.purdue.edu/gchelp/liquids/vpress.html
Organization:
Objective: Mondaza
Background: Eugenia, Maite
Materials: Maite, Mondaza
Method: Mondaza
Results and calculations: Fco. Javier, Maite, Mondaza
Conclusions: Luis, Maite, Eugenia and Mondaza.